


10 Must-Do Spring Gardening Tasks By Pros
As spring arrives, the weather varies across different regions, impacting your gardening plans. While some areas may already be planting this month, in other places it's still too early. Nonetheless, there are plenty of tasks to tackle in your garden this month, whether you have a large yard or a small patio garden. Tasks like pruning, transplanting, and dividing fall-blooming perennials should be on your to-do list , along with setting up trellises and adding compost to your garden beds. Before you dive into these tasks, it's essential to consider your agricultural zone and ensure it is the right time for these activities. If your ground is still frozen, it's best to wait a few more weeks to avoid any potential damage.
Revitalize Your Evergreens
Now is the optimal time to remove coverings from your evergreen shrubs that have been protected from the winter weather. Consider this as a rejuvenation process for your garden after a period of dormancy. According to Justin Hancock, a horticulturist at Costa Farms, it is essential to water your evergreens during early spring, especially in regions where the soil freezes during winter. In addition, the late winter and early spring months present an ideal opportunity to take hardwood cuttings for propagating your beloved trees and shrubs while they are still in their dormant state.
Install trellises and other support systems
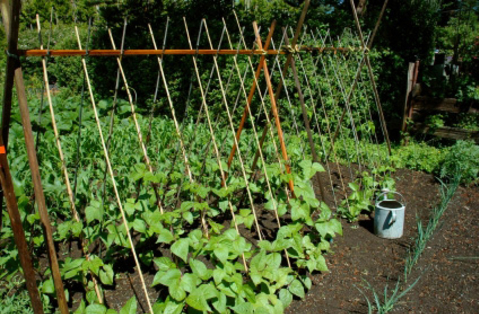
To ensure optimal growth in your garden, it is recommended to install trellises and other plant supports before new growth begins. Waiting until plants have already started growing can potentially damage their roots. By setting up the support structures preemptively, before the garden flourishes, you can easily guide the growth of your plants and prevent unruly vines and stems from causing any disruption. Carrie Spoonemore, co-creator of From Seed to Spoon, advises against delaying support installation to protect the health and development of your plants.
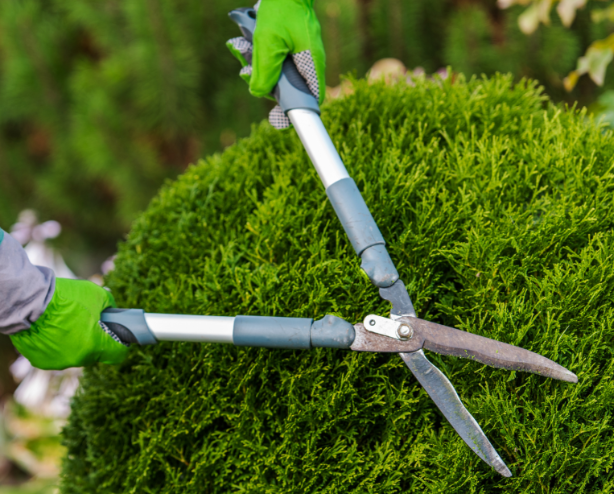
Start pruning

With the arrival of warmer weather, it becomes essential to prune woody plants in your garden. The key to successful pruning is to do so before new buds and growth start to emerge on the stems. It is important to note that each perennial shrub and bush has unique pruning requirements, so it is advisable to conduct thorough research before making any cuts with your pruners.Before embarking on the pruning process, it is crucial to clean, disinfect, and sharpen your shears, according to Chuck Pavlich, director of new product development at Terra Nova Nurseries. Pavlich suggests a pro tip of cleaning the shears before putting them away as well, as this helps maintain their condition and makes it easier to remove fresh plant resin compared to resin that has been sitting for months.
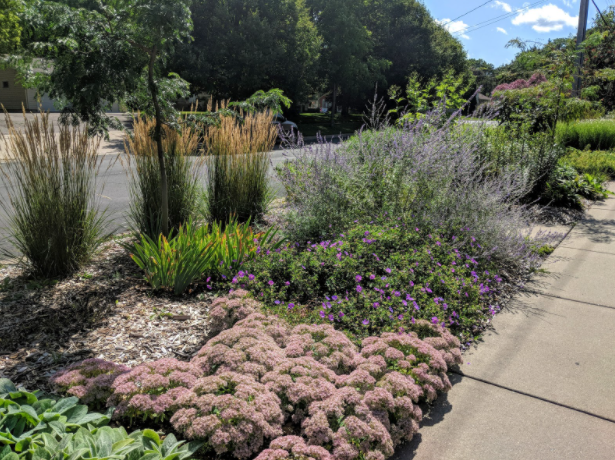
Prune Cool-Season Ornamental Grasses
Cool-season and warm-season ornamental grasses require distinct care to thrive. To determine which varieties are in your garden, observe how they fare in different weather conditions. Cool-season grasses maintain their appearance in colder temperatures, while warm-season varieties will wither and turn brown following the first frost. It is crucial to refrain from trimming cool-season ornamental grasses until the soil thaws and any remnants of ice and snow have melted. When the time comes to prune, ensure you leave at least one third of the older foliage intact to support optimal growth. Over-trimming can hinder the plant's development, so exercise caution when cutting back excess foliage.
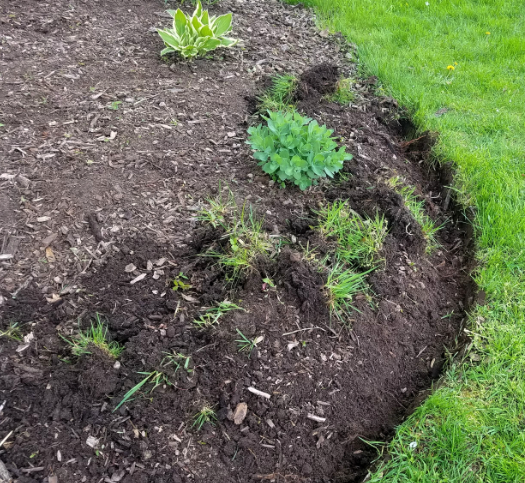
Divide fall-blooming perennials

Prepare Your Fall-Blooming Perennials for Thriving Growth. To ensure the health and vigor of your fall-blooming perennials like hostas and daylilies, it is essential to dig them up and divide them before they begin their seasonal growth. Using a sharp spade or other suitable garden tool, carefully divide the plants and replant the divisions in suitable locations within your garden or share them with friends.For plants that prove challenging to divide, a helpful tip is the "two forks" technique: Place two garden forks back to back, insert them into the center of the root ball, and gently push them apart by applying pressure to the handles. This method aids in separating the roots without causing excessive damage, as recommended by Kelly Funk, president of Jackson & Perkins.If you find yourself needing to divide unruly irises or peonies in the spring instead of the fall, know that it is possible, especially for irises known for their resilience. While best practice is to divide these plants in the fall, addressing them in the spring can still prove successful in promoting their growth.
Transplant any deciduous trees and shrubs
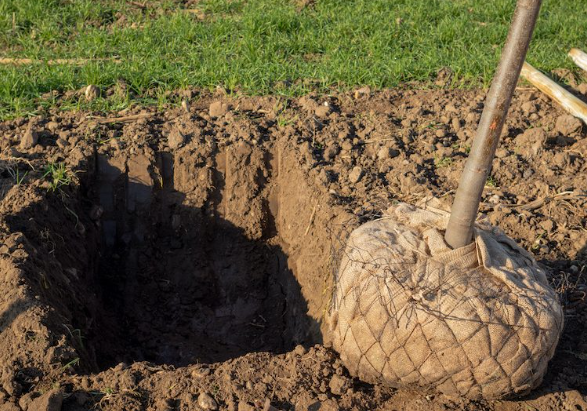
Take Advantage of the Optimal Time for Transplanting Deciduous Trees and Shrubs, As the season transitions, now is an opportune moment to relocate any deciduous trees and shrubs in your garden. It is crucial to undertake this task before the plants commence new growth, as disturbing them during this phase may result in shock.To minimize stress on the plant during the moving process, landscape expert Hancock suggests digging the hole for the plant's new location before uprooting it. By planning ahead and preparing the site in advance, you can help ease the transition for the plant.Furthermore, consider the weather conditions when planning the transplant. Ideally, choose a couple of cloudy or rainy days post-transplantation to provide the plant with a more favorable environment for acclimatizing. Stay informed about the weather forecast in your area and schedule the transplant accordingly to ensure the plant's successful adaptation.
Revitalize Your Flower Beds with a Thorough Cleanout
As we freshen up our homes for spring, let's not forget to give our flower beds the same attention. It's time to clear out the old to make room for new growth and plants to flourish. Removing leaves and mulch that have accumulated over winter is essential to allow early spring growth to emerge, such as bulbs and perennials.To avoid any damage to your perennials, it's important not to jump into spring cleanup too early. Waiting until the risk of hard freezes has passed is advised to protect your garden. Double-check weather forecasts for any potential freezing temperatures before starting the cleanup process.When dealing with the fallen leaves, remember that they may be serving as homes for hibernating butterflies and moths. Approach the cleanup process with care, gently relocating the leaves to a corner of your yard before discarding them later in the season. This consideration for local pollinators will help preserve important wildlife in your garden.
Add compost to garden beds
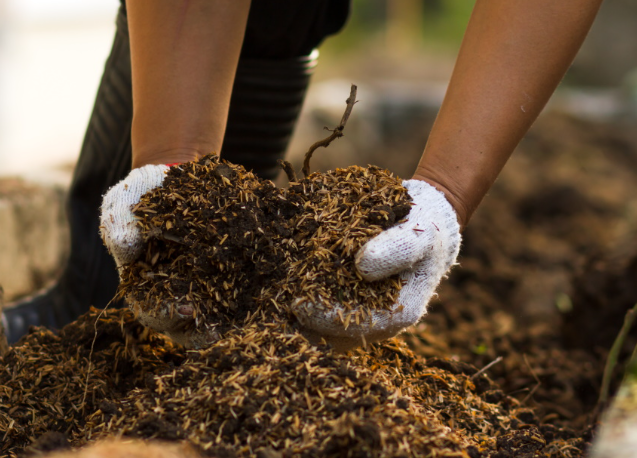
Once your garden soil has thawed, this task can be undertaken. Incorporate a layer of your chosen compost into the upper layer of the garden soil. This will provide a beneficial lift to all plants that are beginning to show signs of new growth.Hancock highlights that compost serves the additional purpose of breaking up dense clay soil as it breaks down. This process not only benefits sandy soils by extending moisture and nutrient retention but also creates a conducive environment for plant roots to flourish.
Enhance soil health with pre-planting slow-release fertilizer
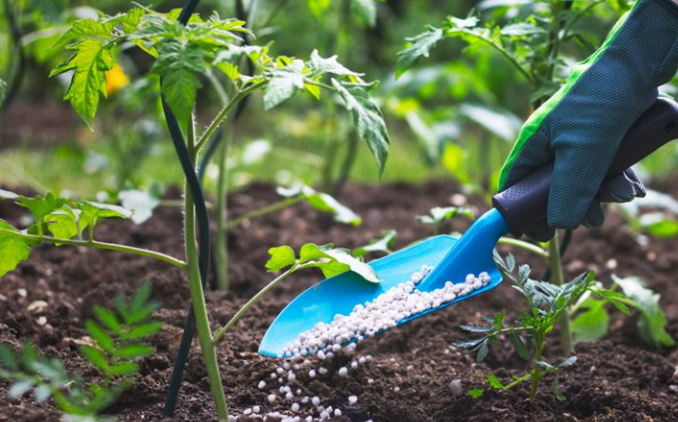
In addition to compost, incorporating slow-release fertilizer into your garden before planting can provide a valuable boost to your plants. There are two main types to choose from: organic options like greensand, limestone, or rock phosphate, and commercially-made slow-release fertilizers. While both types have their own benefits and drawbacks, organic options are gentler on newly transplanted plants, offering steady nutrition over time. On the other hand, commercially-made fertilizers react to heat and moisture levels, providing nutrients during key growth periods.
Carefully plan the layout of your garden
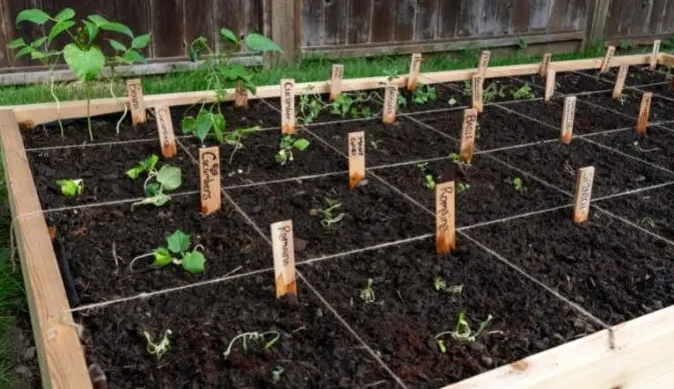
Now is the perfect time to plan out the layout of your gardens for the upcoming season. It is best to do this when your beds are clear and you have some dedicated time to research different plant species and their specific requirements. Consider factors such as bloom time, color scheme, fragrance, and the purpose of your garden, such as a cutting garden," advises Laura Walsh, marketing director at Oasis Forage Products. "Grouping plants with similar needs will make maintenance easier and promote healthy growth." Creating a detailed map of your gardens can help you keep track of where each plant is located, including seasonal plants like annuals and tender fruits and vegetables. This thoughtful planning will pay off in the following year and make gardening more enjoyable and manageable.
For more lawn tips and tricks click here or give us a call at 580-886-2345 for more information on what lawn equipment is best for your lawn!!
Contact
Contact Us